Harvest Batches
A harvest batch is an amount of harvested plant material weight.
New
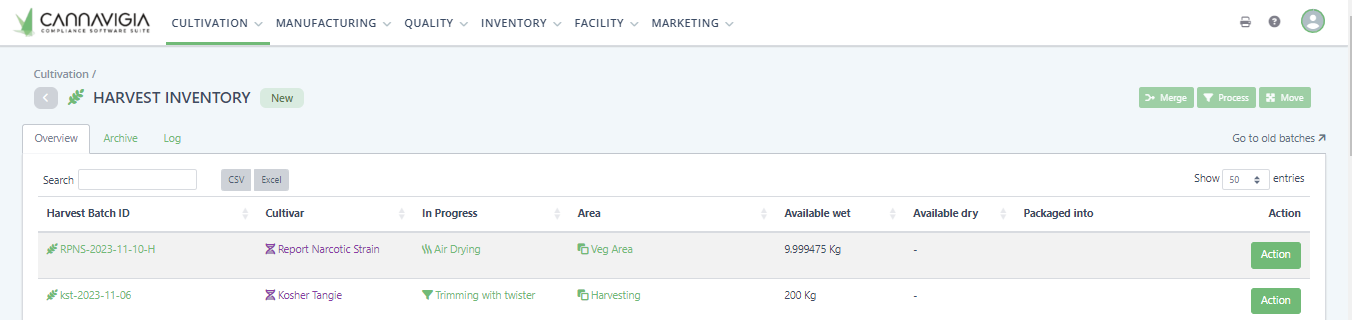
By clicking Cultivation > Harvest, you can see an overview of all harvests.
To create a harvest you have to harvest a plant batch.
The table gives you the following information
Harvest Batch ID
This is the identifier for your harvest. You can change it by by editing the harvest details.
Clicking on the Batch ID will open the detail-view of the particular harvest.
Cultivar
This indicates the cultivated variety (syn. Cultivar) of the harvested plant material in this harvest.
Clicking on the name will open all the information that was input on this Cultivar and allowing you to edit properties of the Cultivar.
In Progress
You can perform all kinds of processing and drying tasks on the harvest. This column will show you what tasks are currently in progress.
To start a processing task follow these instructions: Start a processing task
Area
The harvest can be moved around from area to area. This column shows you where in your facility the harvest is currently located.
To move a harvest to a different area follow these instructions: Move a harvest.
Available wet weight
This indicates how much total available wet weight you have in this harvest. Once it has been dried this will be set to zero for the remainder of the lifetime of the harvest.
To add more wet weight, perform the action: Weigh in wet weight
Available dry weight
Similar to the wet weight, the dry weight is the total weight that was weighed after the drying process has been completed. Once the harvest has been dried there will only be dry weight available for the remainder of the lifetime of the harvest.
To add more dry weight, perform the action: Weigh in dry weight
Packaged into
This column shows in what articles (and which batch) the plant material in this harvest was packaged into. By clicking on the name, it will open the article batch detail-view.
To package available weight into articles, perform the action: Package harvest
Action
Here you will find the button to open up all available action for this harvest. You can also click on the harvest batch ID to open the detail-view and click the action button there. It will open up the same window.
This allows you to perform action without needing to go in the detail view.
To learn more about all the action that can be performed go to: Actions for Harvest Batches
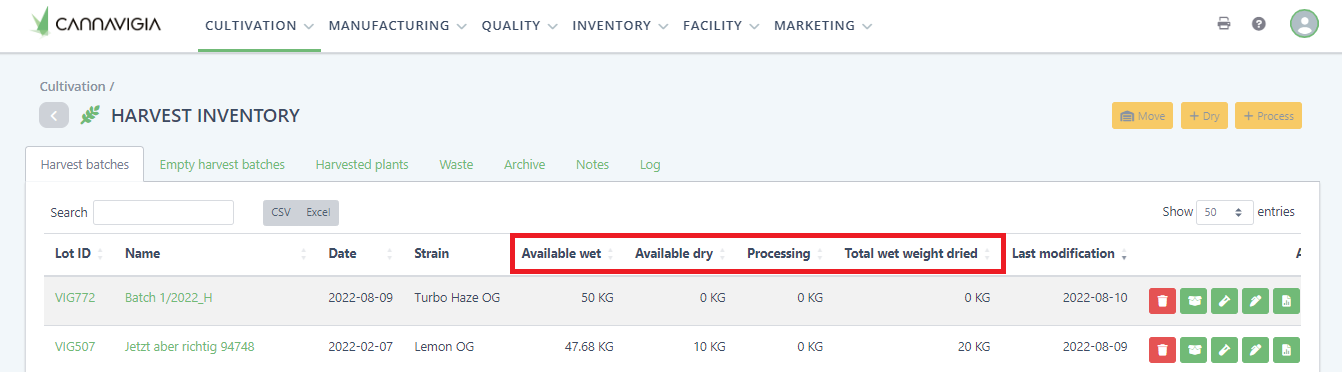
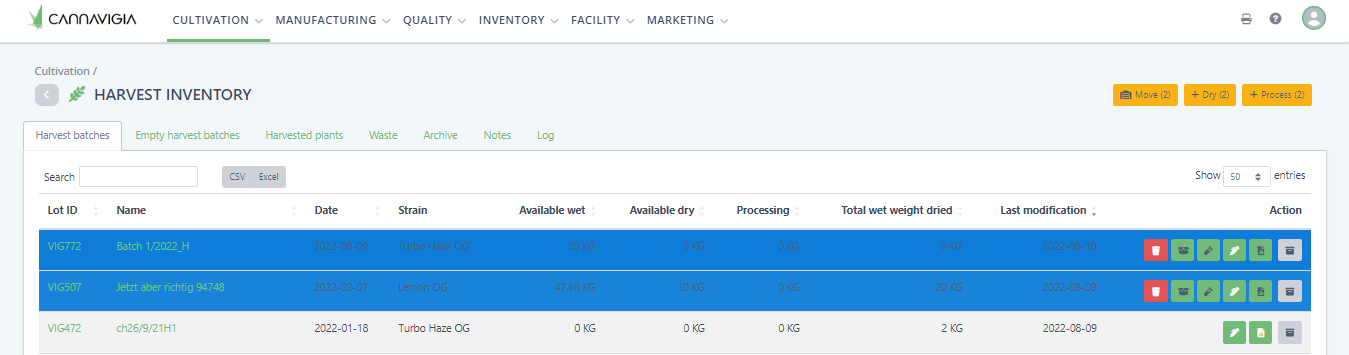
Old System
The following documentation only applies for the old harvest and drying system.
By clicking Cultivation > Harvest, you can see an overview of all harvests.
In addition to the Batch code automatically generated by the system when entering a harvest (e.g. VIG12), the following information can be seen for each harvest:
Name of the harvest
Date
Cultivar
Available wet weight
Available dry weight
Processing
Total wet weight dried
Last modification
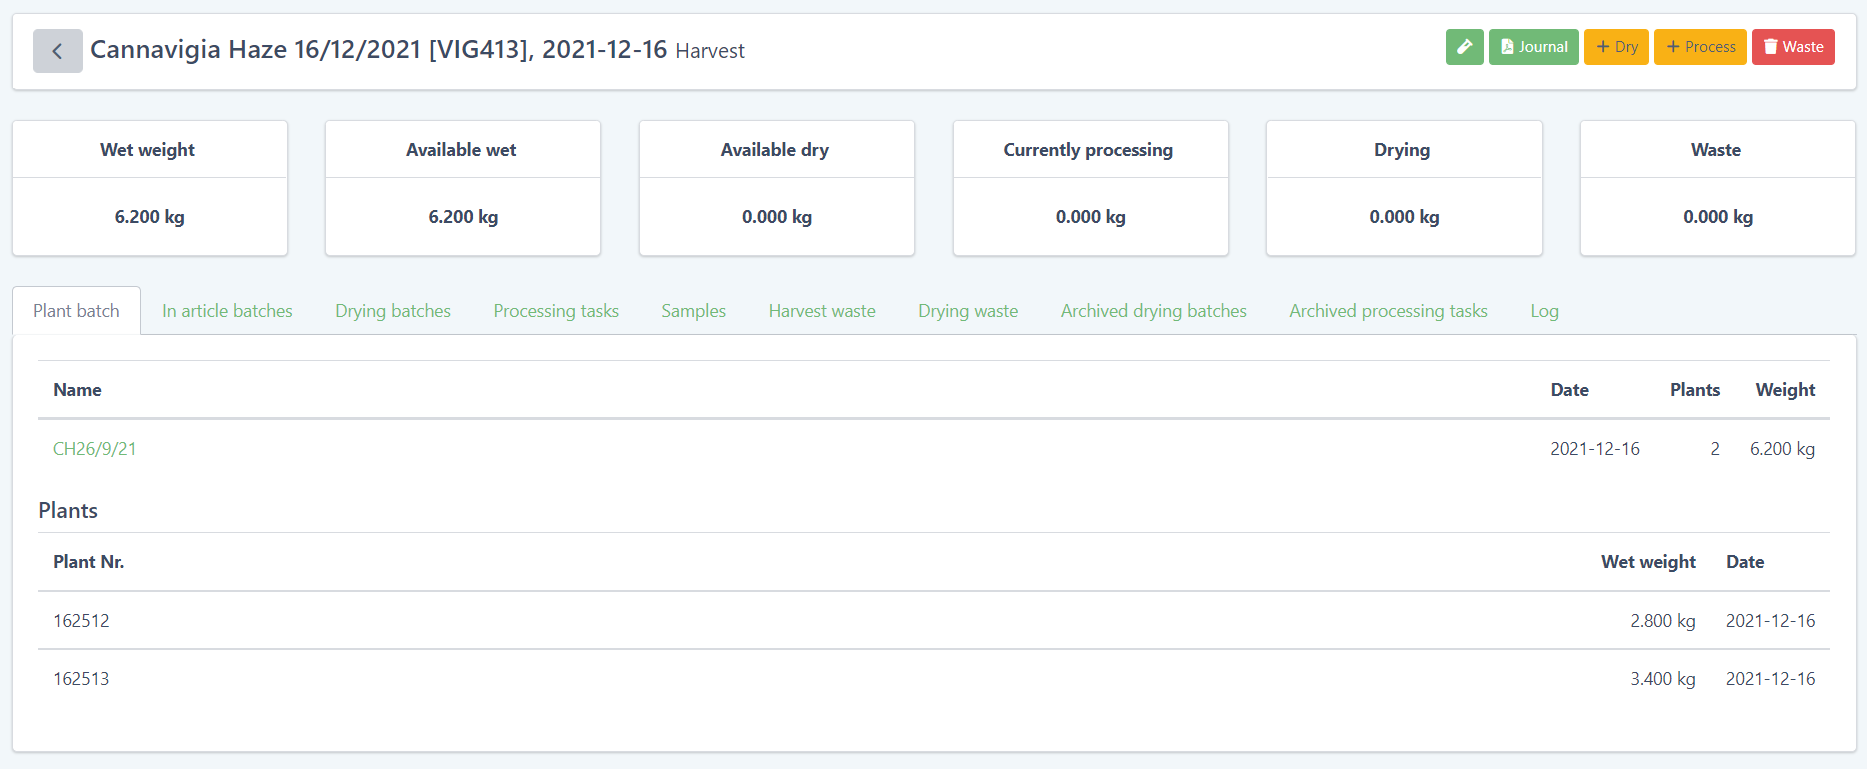
Clicking on the Batch code of any harvest batch in the list will take you to the detailed view of that particular batch with information about related Plant batches, In article batches, Drying batches, Processing tasks, Samples, Harvest waste, Drying waste, Archived drying batches, Archived processing tasks, Area log and the Harvest log.
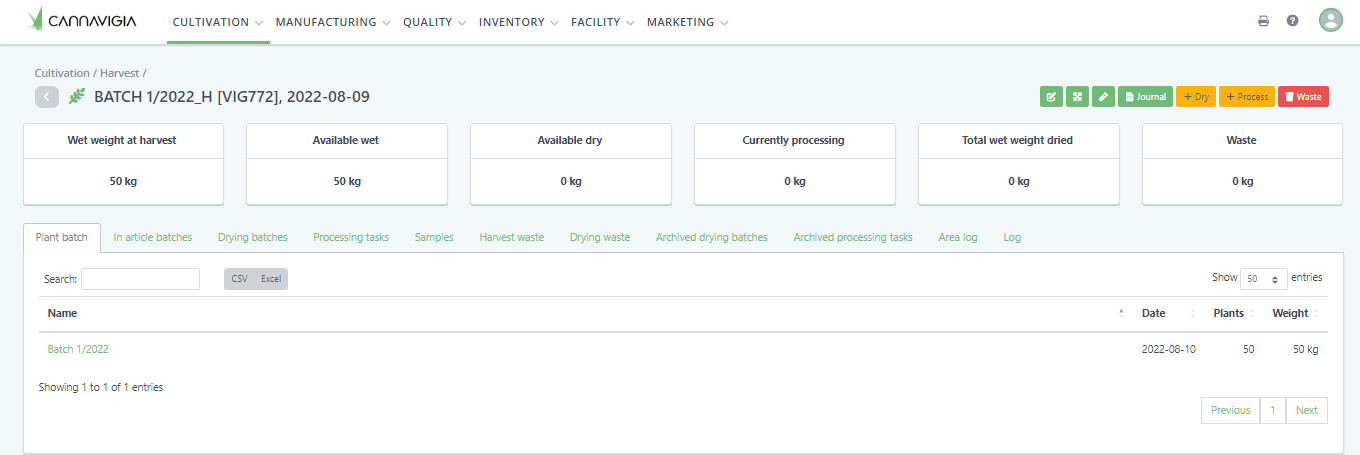
Action buttons for Harvest inventory
Adding notes to a harvest batch
Click the green Add note button.
Enter your notes/thoughts/observations about the harvest.
Click on Save to save the note and close the window.
Generating a harvest journal
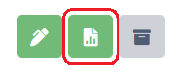
Click the green Journal button.
The system will generate a harvest report in PDF format with a summary of all the harvest information such as dry and wet weight, harvest process, waste, drying details and area.
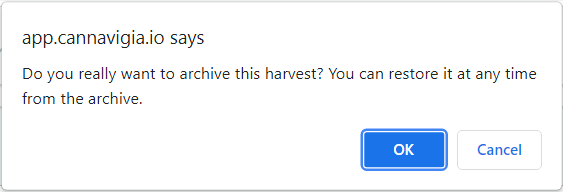
Archiving a harvest

Click the grey Archive button.
Confirm the archiving of the harvest by clicking OK.
The following buttons will only appear when there is Available wet weight for that harvest batch. If there is no available wet weight, you will only have the option to add a note, generate a journal or archive that harvest batch.
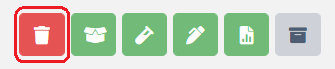
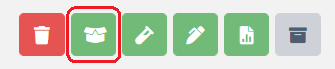
Recording waste
If waste is produced during harvesting, for example trimmings such as stems and leaves, this can be logged using the record waste button of the corresponding harvest batch.
Click on the red Record waste button.
Enter the Weight of the waste from the source material.
Select the Waste container from the drop-down menu.
Enter the Date of waste.
Lastly, specify the Reason for the waste (e.g. pruning residue from hand trimming).
Optionally, you can also specify the Type of waste (e.g. leaf, stem, root, etc..)
Click on Save to log the waste in the system and return to the Harvest inventory page.
Moving a Harvest Batch
To move a harvest batch between different areas click on the harvest batch you would like to move. Selected harvest batches appear with a green brackground. Multiple harvest batches can be moved at the same time.
To move the drying batches of the harvest batches, click them in the respective window.
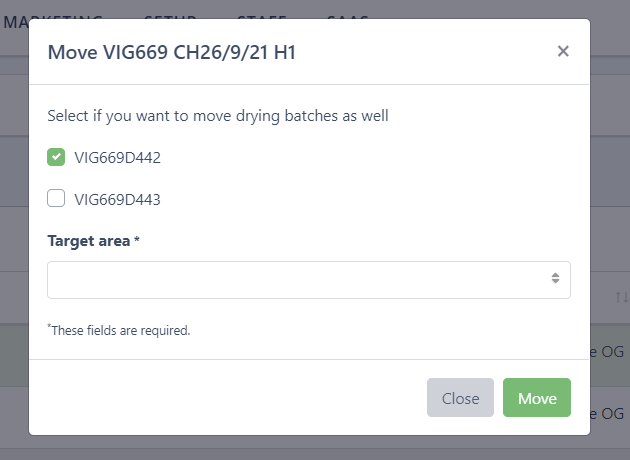
Moving a harvest batch and one selected drying batch
Creating an article batch
By clicking on the Create article batch button, you can create an article batch from the items in your harvest inventory.
Click on the green Create article batch button.
The Source batch, Amount available, Batch type, Amount used in batch and Article batch amount will be automatically filled in by the system.
Select the Article you would like to create from the drop-down menu.
Set the Expiration date of your article.
Optionally, you can Upload media from your computer.
You also have the option to enter a manual Article batch code, otherwise the system will automatically generate one for you.
Click on Save to create your article batch and close the window.
Taking a sample
You can take a sample from a harvest batch direcly from the Harvest inventory page by clicking on the Take sample button.
Click on the green Take sample button.
Specify the Content of the sample (e.g. immature flowers).
Enter the Amount in grams.
Enter the Date.
Click on Save to create the sample in your system.
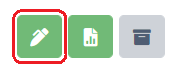
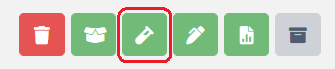
Editing a harvest batch
On the detailed view of a batch you have the option to edit a particular batch by clicking Edit in the top right corner:

By clicking Edit, the harvest modal will open where you can change information about harvests such as name, area, harvest date, harvest method, harvested plants, and weights.
Note: Learn more about harvest in Plant Batches .
Processing tasks
During harvesting, various processes (e.g. removal of stems and leaves) are carried out. You can document all these processes seamlessly in the software. To do this, proceed as follows:
In the Harvest inventory (Cultivation > Harvest), select the harvest you want to process from the list of all harvests.
Note: You can select multiple harvests in order to log multiple harvest processes at the same time. Click with the left mouse button on the harvest batch you would like to process to select it. Selected fields are marked in green. To unselect a batch just click on it again.
If you are only processing one crop, you can also start processes in the detailed view of the respective crop. To do this, click on the Batch code of the batch you would like to process, which can be seen on the left side in green letters.
In the harvest inventory page (Cultivation > Harvest), select one or multiple harvest batches and click the yellow + Process button to start a harvesting process.
The following window opens:
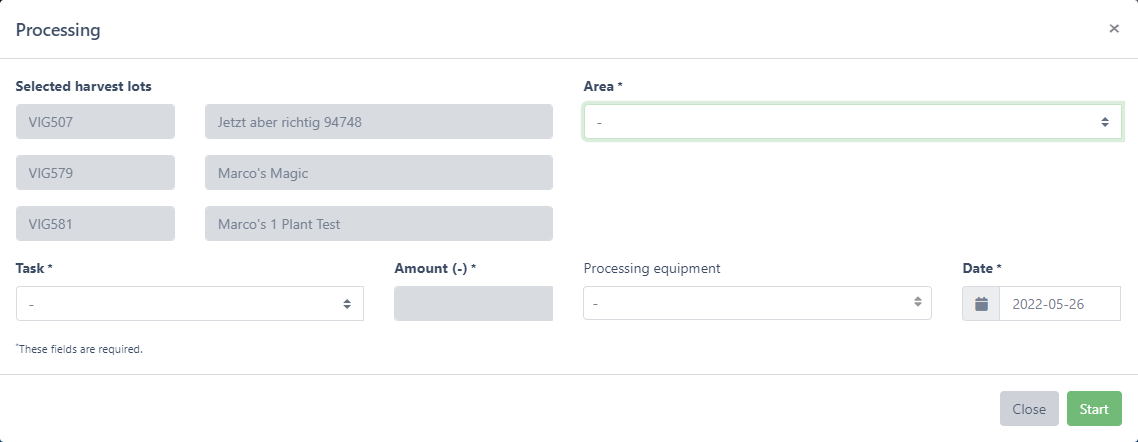
Select the Area where the task will be performed from the ▼ drop-down list.
Select the Task you would like to perform from the ▼ drop-down list.
Enter the Amount (Task) i.e., the amount of repetitions of the task.
The Date, and if applicable you can select the Processing equipment that will be used for the process.
Note: Tasks must first be created in Quality > Task Setup before they can be selected from the drop-down list.
Click on the Start button to record the task.
You will be redirected to the Harvest Processing tab (Cultivation > Processing Tasks) where you can see all ongoing processing tasks.
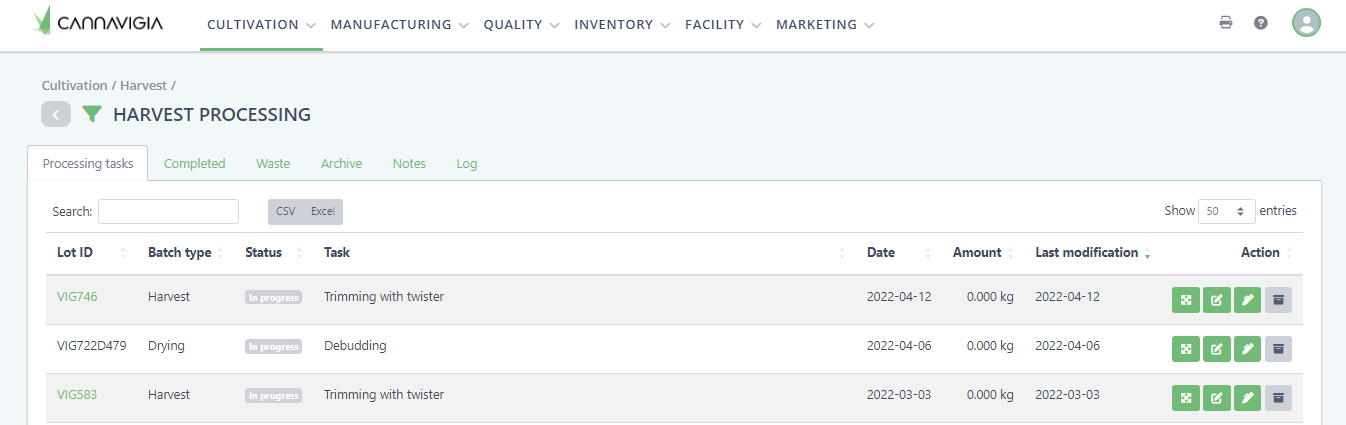
Editing a processing task
To edit the progress of a certain process, click on the green Edit button.

A window will open where you can document all the data related to the processing.
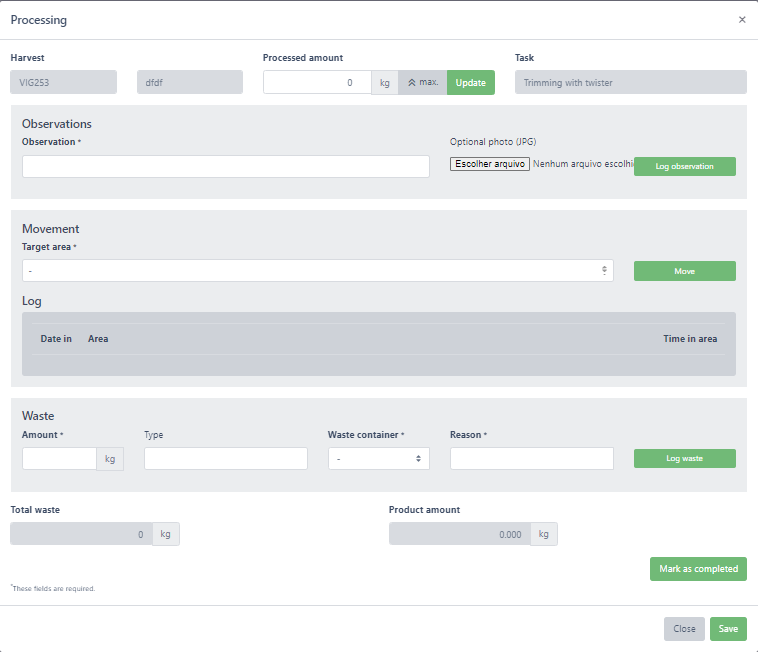
Editing the progress of a processing task
Specify the Processed amount.
If you click on max. the system will automatically input the total available quantity of this batch.
Once you have entered the processed amount, press the green Update button. The quantity is not assigned to the process until you click on Update.
Note: the processed amount can be adjusted while the process is still ongoing.
Logging observations, moving and recording waste
Next, you can log observations, move your batch to other area and record waste.
To record an observation, enter your Observation and optionally, upload a photo.
To move your batch, select the target area from the ▼ drop-down list and press the green Move button.
To record waste, enter the Amount of waste in kg, enter the Type of waste, select the Waste container from the drop-down list and specify a Reason for the waste.
You can log multiple observations and waste for each process. After filling in and clicking on the green Log observation or Log waste buttons, a new line appears for entering the next observation or recording the next waste item.
To confirm your changes, click Save.
Marking a harvest as complete
When the harvesting process is complete, click on the Mark as completed button. Completed processes cannot be processed further.
A confirmation pop-up will appear, click OK.
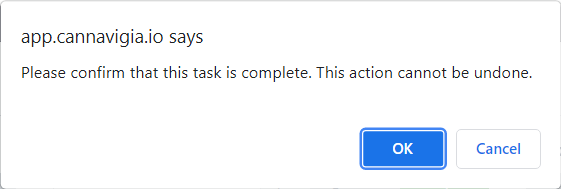
The harvesting process is now complete. The available amounts of this harvest are updated in the detailed harvest inventory page of that batch, and the status of the Processing task is marked as completed.
Drying tasks
The drying of flowers and biomass is a central step in the processing of cannabis and is documented in the software separately from the other processing steps.
In the Harvest inventory (Cultivation > Harvest), select the harvest you want to dry from the list of all harvests. If you dry only one crop, you can also start the drying in the detail view of the respective crop. To do this, click on the Lot ID, which can be seen on the left side of the screen in green letters.
Note: You can select multiple harvests to start drying at the same time. Click with the left mouse button on the desired batch to select it. Selected fields are marked in green.
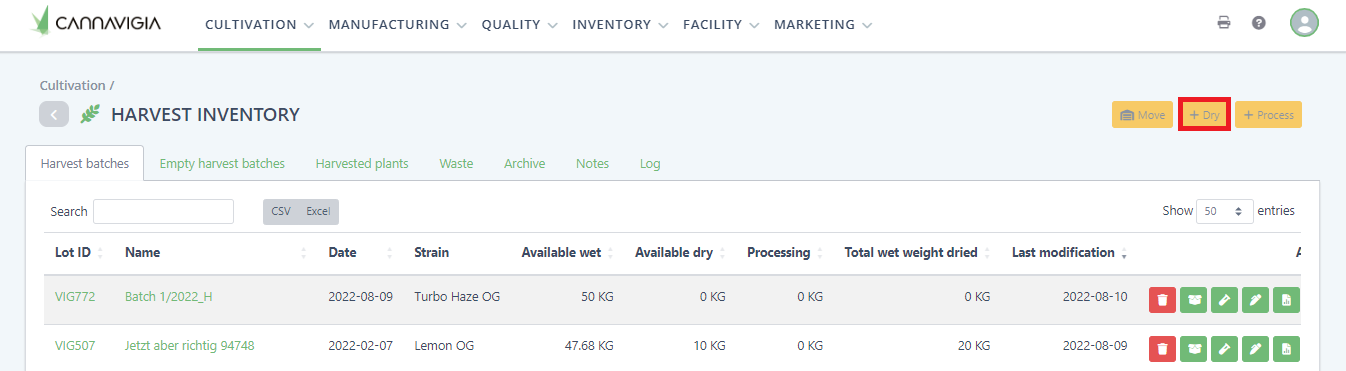
Drying a harvest batch
After selecting the batch(es) you want to dry, click the yellow + Dry button to start the drying process.
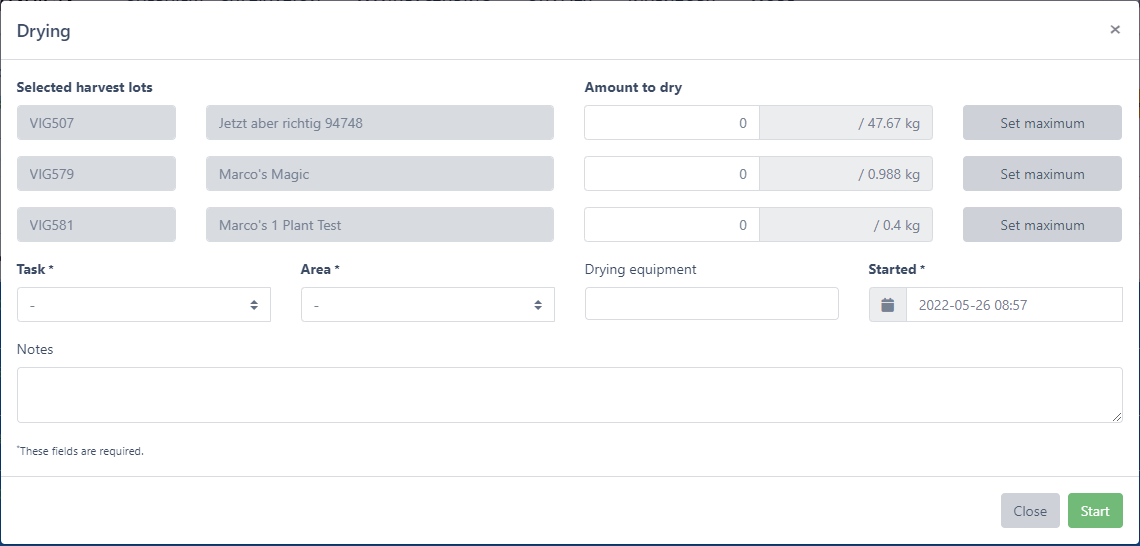
The Drying window opens. Enter the Amount to be dried, or click Set maximum to automatically enter the total available quantity.
Select the drying method (Task) from the drop-down list.
Select the Area where the drying will take place.
Enter the Date and, if applicable, what Drying equipment will be used.
To start the drying process, click Start . The system will automatically create a new drying batch.
Note: Drying tasks must first be created in Quality > Task Setup before they can be selected from the drop-down list.
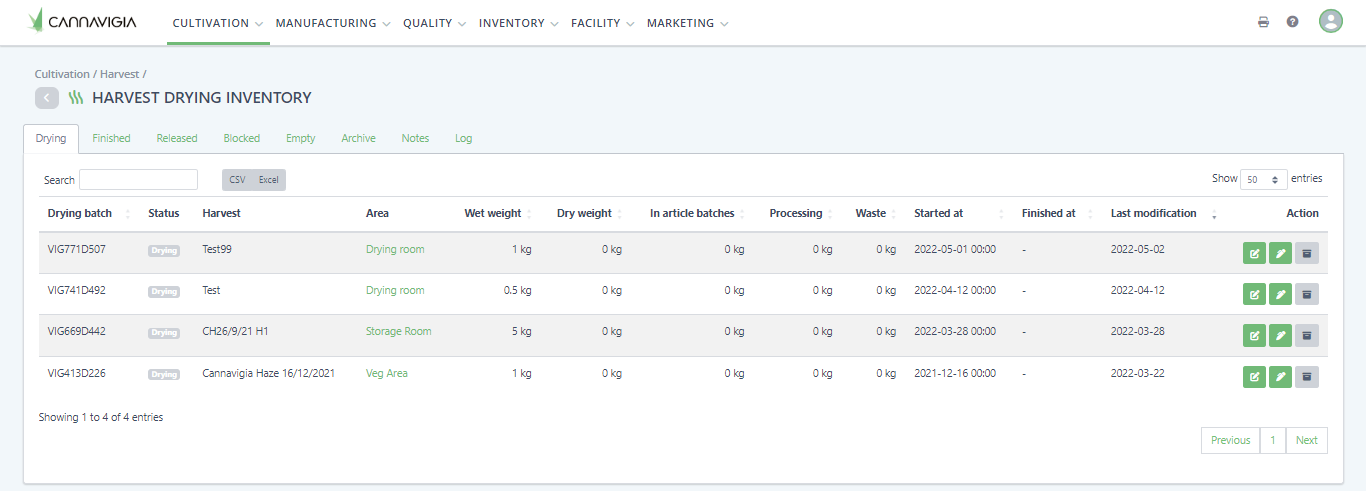
From the moment a batch starts the drying process, the actions related to a drying batch can be found in the Drying inventory page (Cultivation > Drying). Here, you can see your drying batches separated into tabs: Drying, Finished, Released, Blocked and Empty.
From the Harvest Inventory page, you will still be able to see all your Harvested batches, waste related to the harvest, notes as well as the harvest log. Additionally, you can see the sum up of how much Available wet and Available dry harvest you have, how much is Processing and Total wet weight dried.