Plant Batches
A plant batch is defined as a certain number of plants of the same cultivar with the same planting and harvesting date, which have been cultivated using the same additives and which together form a unit.
Projects can contain several batches of plants, providing a better overview in more complex cultivation projects.
Viewing your plant batches
Best practices: Plant batches can be created in advance rather than on the day of planting in order to simplify and organize the planning process.
Plant batches can be viewed in the Projects page. To view your batches proceed as follows:
Click on Cultivation > Projects.
Click on the Name of the project containing the batches you would like to see.
The detailed view of the project opens up. Here you have an overview of all the plant batches in this project.
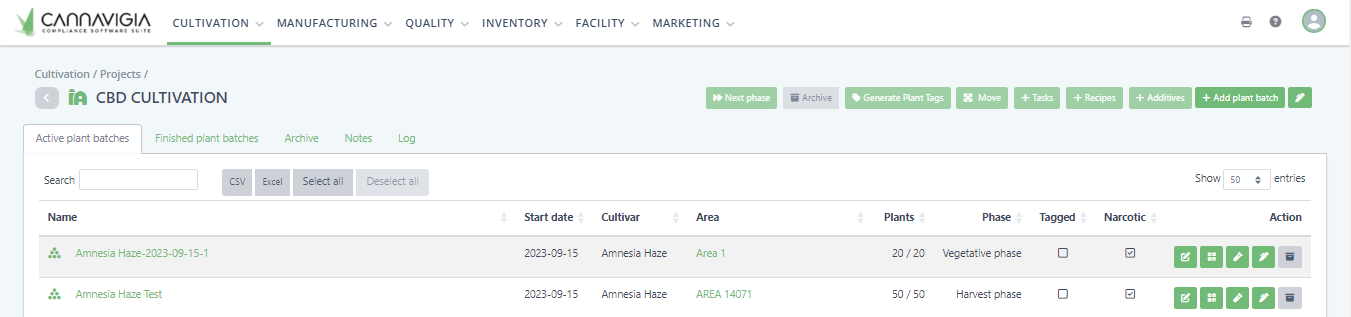
All entries that were recorded throughout the cultivation can be seen in the following tabs at the bottom of the Batch overview page:
Additives
Tasks
Waste
Harvests
Observations
Parameter log
IoT data
Waste archive
Samples
Traceability
Articles
Notes
Area log
Log
Adding a new plant batch
To create a new batch within a project, go to the detailed view of the project by clicking on its Name in the Projects page (Cultivation > Projects)
Click on the green button at the top right + Add plant batch.
A window opens to Add a plant batch.
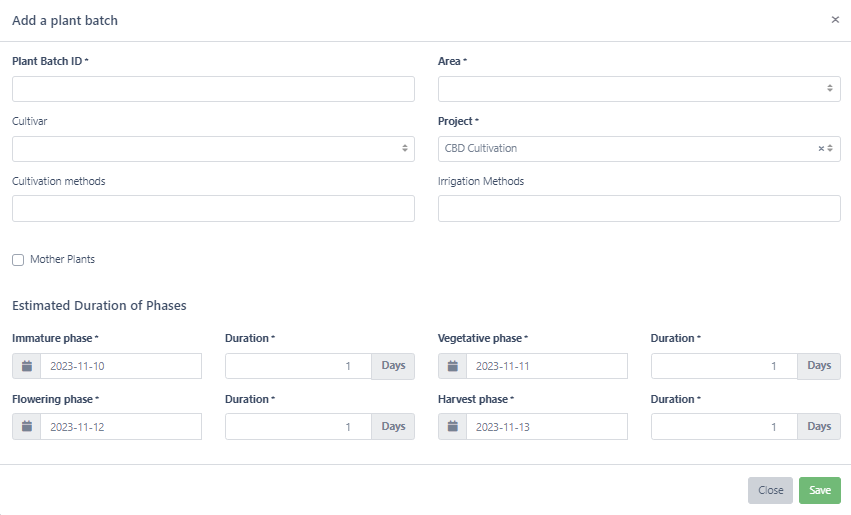
Give the plant batch a Name. This should be unique; it is best to incorporate the date of planting to help with organization.
From the ▼ drop-down menu, select the Area where your plant batch will be planted.
From the ▼ drop-down menu, select the Cultivarof your plant batch.
From the ▼ drop-down menu, select the Cultivation method that will be used to cultivate your plant batch.
From the ▼ drop-down menu, select the Watering method that will be used to water your plant batch.
Notes: The Areas must be individually entered beforehand in Facility > Areas in order to be able to use them when creating a new batch.
Notes: The Cultivars must be individually entered beforehand in Facility > Cultivars in order to be able to use them when creating a new batch.
By ticking the checkbox Motherplants, you can mark this batch as your mother plants.
Note: If you tick Motherplant, it will affect the possible phases of the plant batch. Motherplants are considered to be permanently in the vegetative phase; the flowering and harvesting phase are not available for motherplants.
Give the four growing phases of your plants an Estimated start date and the Estimated duration (number of days). You can enter either the date or the estimated duration and the software automatically calculates the corresponding date for you.
Click Save to create your new plant batch.
You can create as many plant batches as needed for each project.
Repeat this process for each additional plant batch.
The plant batch has been created, but no plants have been added yet and the plant batch has not been started.
The following steps explain how to add plants and document the cultivation. For better planning, you can create the batch before planting.
Actions in the batch overview page
The following actions can be taken for any plant batch by first selecting the project in Cultivation > Projects:
Note: The following actions can also be taken from the detailed batch view, by clicking on the Name of the batch.
Generating a QR code for a plant batch
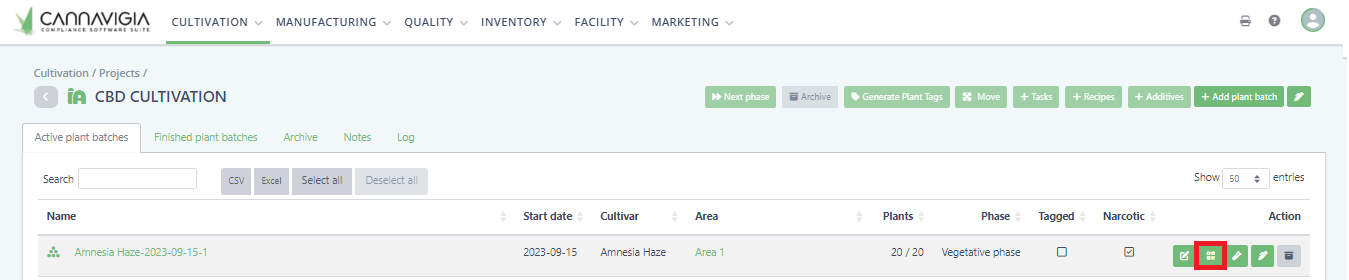
In Cultivation > Projects, select the project in which the plant batch is located.
Click on the green Add QR code to print center button.
The QR code will be sent to the print center where you can download it in PDF format or print it directly and attach it to that plant batch.
Taking a sample from a batch
In Cultivation > Projects, select the project in which the plant batch is located.
Click the green Take sample button on the right side.
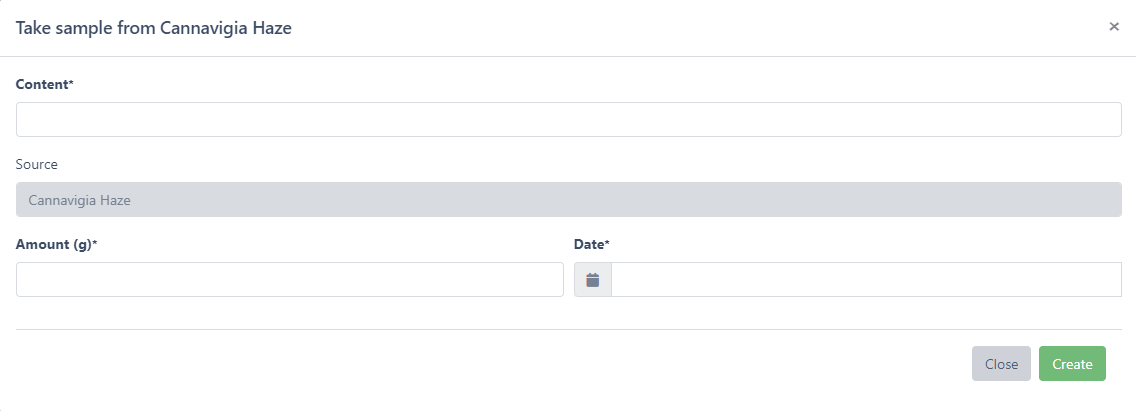
The Take sample window will appear.
Specify the Content of the sample (e.g. leaf, flower, etc..)
The Source is automatically generated based on which batch you choose.
Enter the Amount of the sample.
Enter the Date of sample collection.
Click Create to create your sample and close the dialog window.
Adding a note to plant batch
To add a note to a plant batch, click on the green Add note button.
Enter your note/comment about the plant batch.
Click Save to create the note.
Archiving and restoring a plant batch
Archiving a batch of plants is only possible from the Projects page (Cultivation > Projects) and not from the detailed batch view.
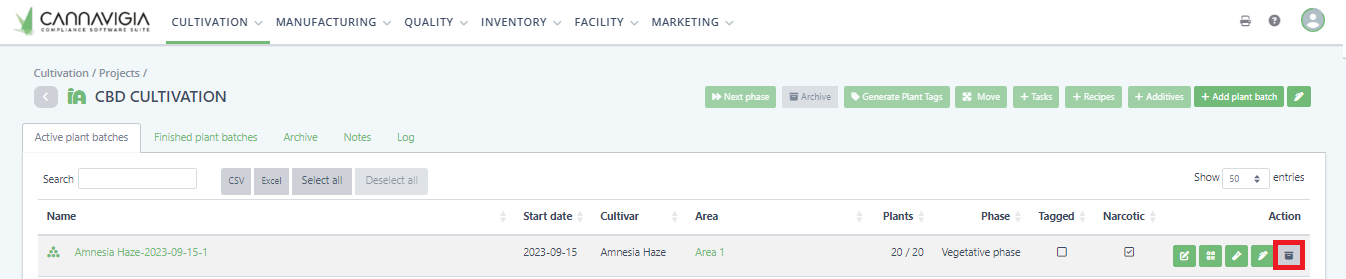
In Cultivation > Projects, select the project in which the plant batch is located.
Click on the grey Archive button to archive the plant batch.
Confirm the archiving of the plant batch by clicking OK.
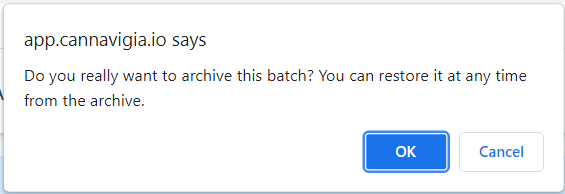
Note: Archived batches are still visible in the Archive tab in the Project page and can be restored at any time.
To restore a task, go to the Archive tab in the Projects page (Cultivation > Projects).
You will see all your archived batches here.
On the row of the plant batch that you want to restore, click on gray Restore button.
The plant batch is now visible again in the Batches tab.
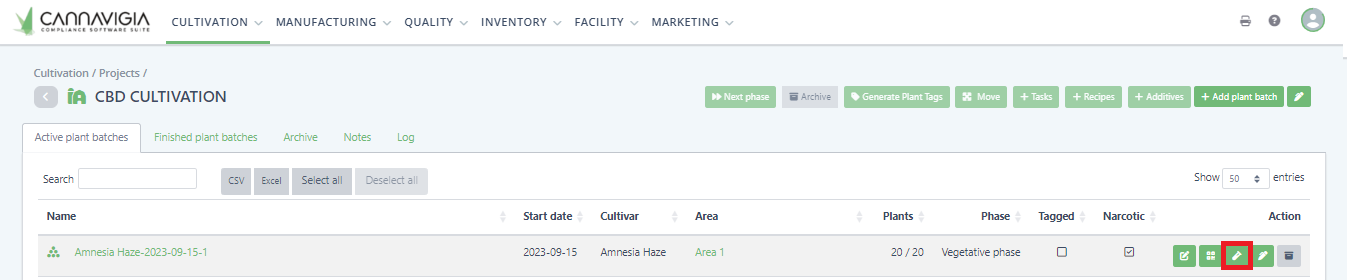
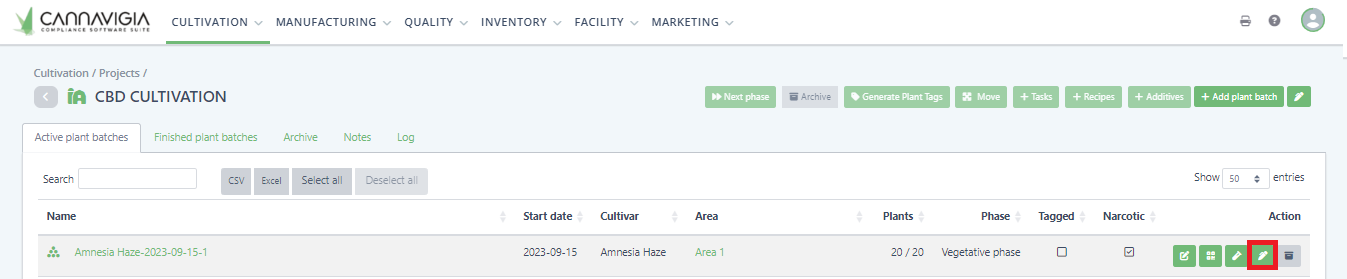
Editing plant batches
To get to the Detailed plant batch page from the Project page (Cultivation > Projects), you have two options:
Click on the Batches tab → click the name of the plant batch.
Similarly, you can also click the name of the corresponding project to see the plant batches inside it.
Click on the name of the plant batch to go to the Detailed plant batch page.
In the lower part of the window you can see the four life phases of the plant batch, with the estimated and actual start date and the duration. The stage that the batch is currently in is highlighted green.
If you scroll to the bottom of the page, the following tabs are visible: Additives / Tasks / Waste / Harvests / Observation / Parameter log / IoT Data / Waste archive / Samples / Plants / Traceability /Articles / Notes / Area log /Log.
Note: If the plant is a mother plant, you will only see the immature and vegetative stage since motherplants generally don't have a flower phase and are in a perpetual vegetative state.
Traceability of plant batch pieces
To trace origin of plants or seeds, current batch and plants utilization of plant batch:
Access the Detailed plant batch page.
Click in the Traceability tab where you can see three columns: Origin, Batch and Utilization.