Containers
Any kind of receptacle can be defined as a “Container”. In the Cannavigia software, there are two different categories of containers: Harvest containers and Waste containers. Any kind of receptacle can be defined as a “Container” e.g. plastic waste bags, drying nets, storage trays, etc..
Harvest containers are used to temporarily store the individual harvests and to obtain an overview of the current storage. Harvest containers can be loaded with a harvest as well as unloaded.
Waste containers serve as a container for various plant waste. Via a corresponding button, these can be disposed of professionally.
On the Containers page (Facility > Containers), you will find the Harvests containers overview-
Waste containers can be found on the tab Waste containers under Quality > Disposal as well as Facility > Containers.
If you click on the highlighted green Area name in the Containers page, you will be taken directly to the respective Area page and can make further edits to the area from there.
Learn more about: Areas
Creating a new container
To add a new container to the Cannavigia system, follow these steps:
In the Containers page (Facility > Containers), click on the green button + Create container.
The Create container window will open up.
Click on green button + Create container.
Give the container a Name.
Select a picture for the container
In the Type field, choose if the container is a Harvest container or a Waste container.
Harvest Container have an additional field called tare weight. This is the empty weight of the container.
From the drop-down menu, select the desired Area.
Click Save to create the container in the system.
Note: Areas must be individually added in Facility > Areas before they can be selected from the drop-down menu.
Learn more about: Plant batches (adding plants to a batch or creating a new batch from the contents of a container)
Printing labels for containers
In the corresponding container row, click on the green Actions button
Then, click on Print label
Select the format (size) of the label and click on print selection
The print center will open, once your print job has the status done you can click on the printer icon to open the label
Best practices: Attach the QR code to the container so your employees on-site can use the Cannavigia mobile app to easily document actions involving that container.
Moving a container
If a container changes location for whatever reason, this can be recorded here:

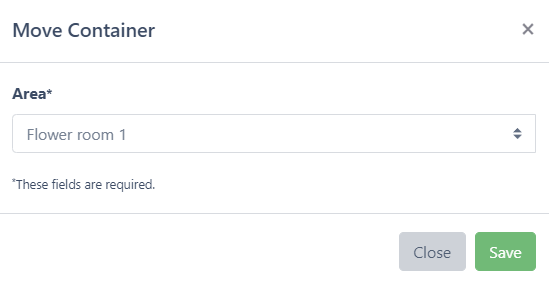
Click on the green button Move container.
The Move container window will open up.
From the drop-down list, select the Area to which you will be moving your container.
Click Save to confirm that the container has been moved and close the dialog box.
Note: Areas must be individually added in Facility > Areas before they can be selected from the drop-down menu.
Adding a picture to a container
To add a picture click on Actions of the respective container
In the window click on edit
By clicking on the image you are able to select a new image
Finish by clicking save
Adding a note to a container
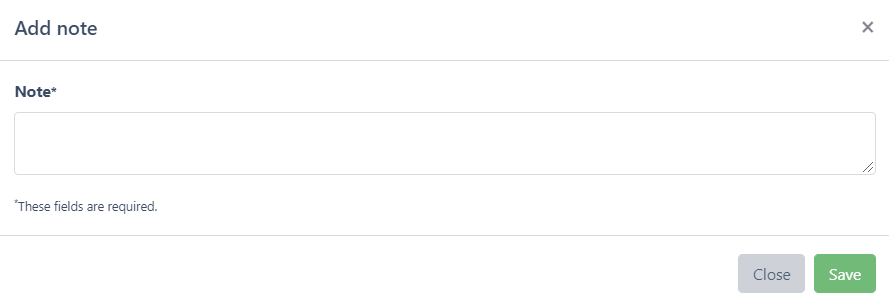
To add a note to a container, click on the green Add note button.
Enter your note/comment about the container.
Click Save to create the note and return to the Containers page.
Archiving and restoring a container
If a container is defective or no longer usable for any other reason, it can be archived here:
Click on the grey Archive button to archive the container.
Confirm the archiving of the container by clicking OK.
Note: Archived containers are still visible in the Archive tab in the Containers page and can be restored at any time.
To restore a container, go to the Archive tab and click on the Restore button.
Harvest containers
Harvest containers are used to temporarily store the individual harvests and to obtain an overview of the current storage. Harvest containers can be loaded with a harvest as well as unloaded. . Harvest containers can be viewed in the Harvest containers tab on the Containers page (Facility > Containers).
For each harvest container, you can see its Name, Area, the Harvest name, the Cultivar(s) and the Date of creation.
In addition to the same actions as for plant containers (Generate QR code, Move container, Add note, Archive/Restore a container), you are also able to load a harvest container and clear a harvest container. These actions will be described in this section:
Loading a harvest container
To load a harvest an empty container with a harvest batch, follow these steps:
In harvest container overview or detail-view Click on Action
Select the harvest batch ID you would like to start loading
Input weight, unit and equipment used for weighing and click Load
Repeat step 3 any amount of times until you have finished loading the container
Click on Save to confirm the loading of the container
Unloading a harvest container
If a container has been loaded by mistake or has to be unloaded for some other reason, you unload a container by following these steps:
In harvest container overview or detail-view Click on Action
Click the Unload button
Confirm or cancel the action
The container is now empty
Before loading a different batch, make sure the harvest container is cleaned and the cleaning is documented.
Cleaning a harvest container
Make sure the container is empty before cleaning. Loaded containers cannot be cleaned.
To perform a cleaning follow these steps:
In harvest container overview or detail-view Click on Action
Click the Perform Cleaning Button
Select the task used to clean the container
Access the SOP if attached and the read the description
Additionally you can write a description about the cleaning process
Click Save
The container is now marked as cleaned and ready for the next batch.
Waste containers
Waste containers serve as a container for various plant waste. From this menu, you are also able to dispose of waste with the click of a button. Waste containers can be viewed in the Waste containers tab on the Disposal page (Quality > Disposal).
For each waste container, you can see its Name, Area, Date of creation and its Weight.
In addition to the same actions as for plant containers and harvest containers (Generate QR code, Move container, Add note, Archive/Restore a container), you are also able to Dispose waste and View contents of a waste container. These actions will be described in this section:
Disposing of containers
To dispose of the contents of a waste container, follow these steps:
Click on the red button Dispose. The button is only displayed if there is waste in the corresponding container.
The Dispose waste dialog box opens. The lower part of the dialog box lists the contents of the waste container.
Fill in the mandatory fields:
Total dry weight
THC content
Form (processing) : Unprocessed, mixed, shredded, grinded, compressed
Packaging date
Disposed by
Optionally, enter the Date of disposal and a Note or upload any related document.
Click Dispose to accept the entries and close the dialog box. Your waste container is now empty; you will see it in the Waste Container tab with a Weight of 0.000kg and the red button Dispose hidden.

Viewing container content
You can view the contents of a waste container at any time by following these steps:
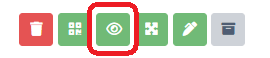
Click on View button.
The Waste summary dialog box will open with an overview of all the waste in that waste container with the following information:
Date
Wet weight
Cultivar
Source
Plant part
Production stage
Area
Reason
User
The Total wet weight of the waste container is specified in the top right corner.
When you are finished, click Close to close the dialog box.
Viewing other container data: Disposals / Archive / Notes / Log
Other collected data can be seen in the following 3 tabs of Containers page (Facility > Containers).
Archive: archived containers.
Notes: notes about containers.
Log: a system-generated log recording all actions relating to containers.
Disposal overview can be seen in the Disposal overview tab on the Disposal page (Quality > Disposal).
