Contacts
The Contacts page (Inventory > Contacts) functions as an online address book where you can create and manage all your suppliers, service providers, and customers.
Creating a new contact
To create a new contact, navigate to Inventory > Contacts.
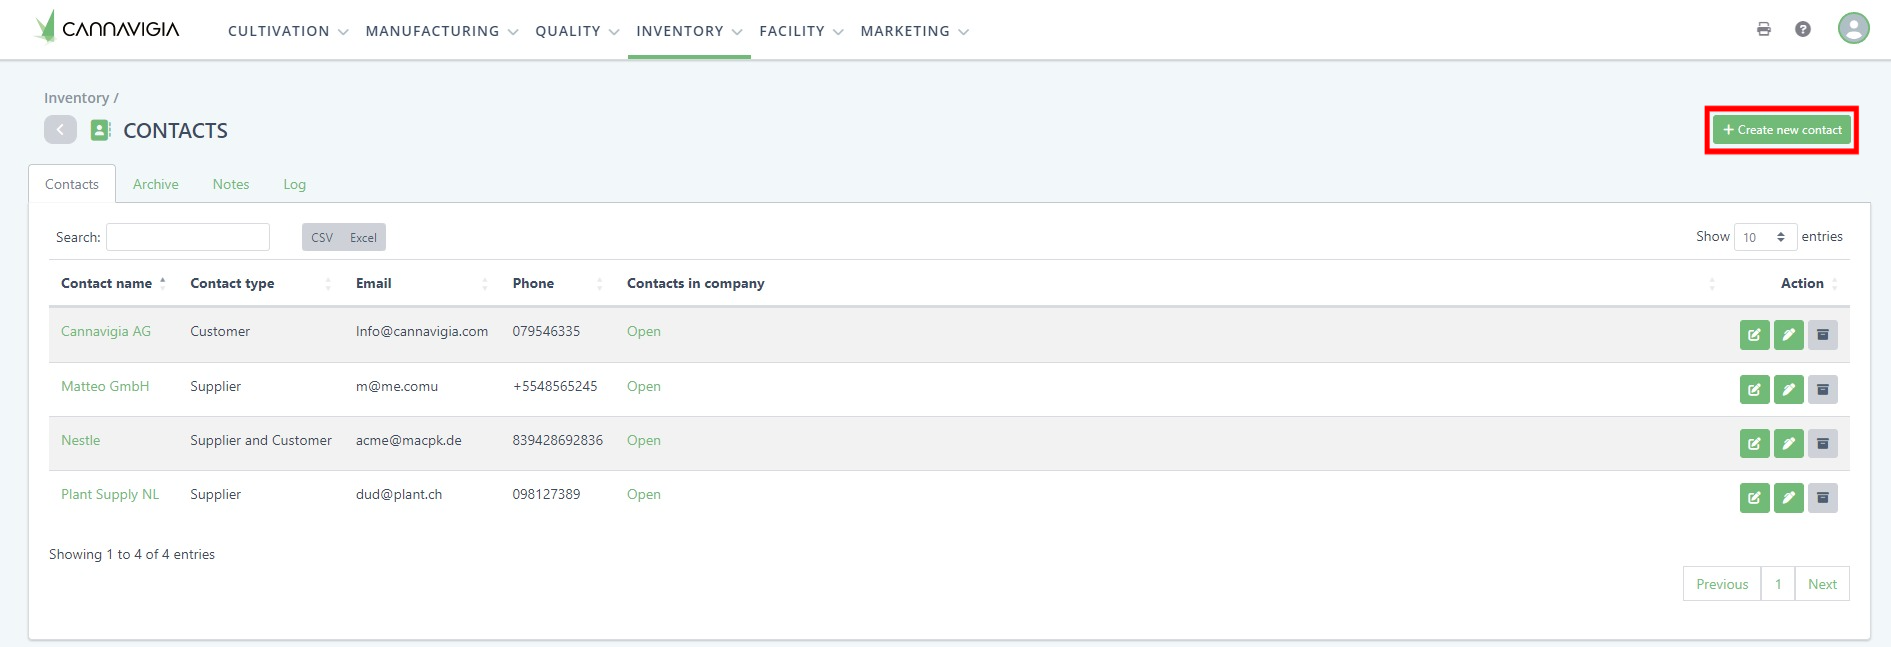
Click on the green button + Create new contact.
The Create new contact window will open up.

Choose between Individual or Company contact and according to that choice, relative fields will be unlocked.

Creating an Individual Contact
Contact Nr. is automatically generated by the system but you can set it manually by clicking the button Set Manual Contact Nr.
Fill in the mandatory fields such as First name, Last name, and Type of contact.
Optionally, fill in other fields such as Street, Zip Code, Town, Country, Telephone number, and Email. You can also upload a picture by clicking the Choose File button.
Click the green button Add to save the new contact.
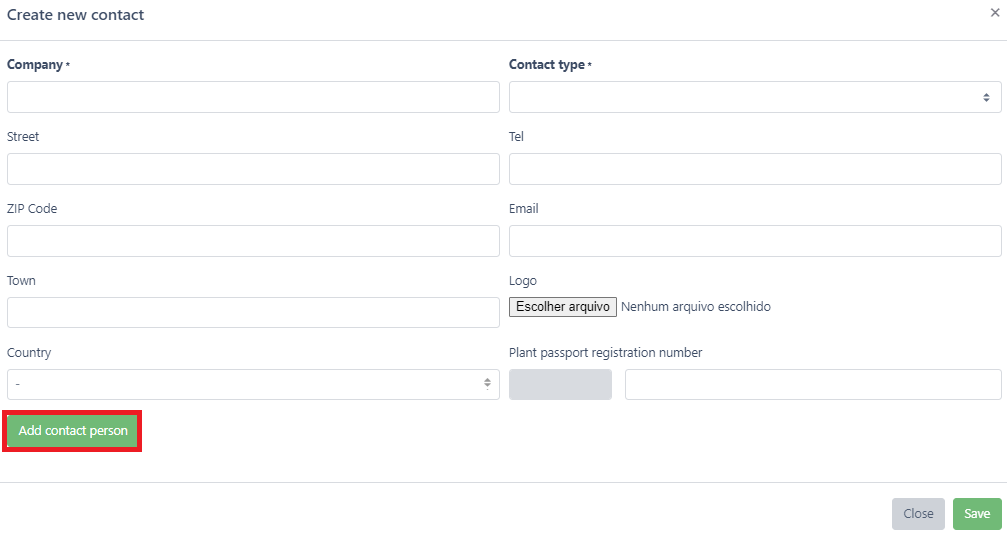
Creating a Company Contact
Contact Nr. is automatically generated by the system but you can set it manually by clicking the button Set Manual Contact Nr.
Fill in the mandatory fields Company name and Type of contact and also non mandatory fields such as Street, Zip Code, Town, Country, Telephone number, and Email.
Optionally, you can also specify the Plant passport registration number and upload a Logo by clicking the Choose File button.
Click the green button Add to save the new contact.
Note: The above steps are for creating a company contact. To create a contact person within the company (e.g. account manager / responsible person) the next section.
Creating a new contact person within a company contact
While you are creating a new company contact, you can also add a contact person within that company at the same time.
At the bottom of the Create new contact window, click on the green button + Add contact person.
A table appears with information fields. Fill in the following details: Name, Surname, Telephone, Email, Function/position and Comment.
To create multiple contact persons, click on + Add contact person again and another row will appear for you to fill in the contact person information.
Click Save to create the contact in the system.
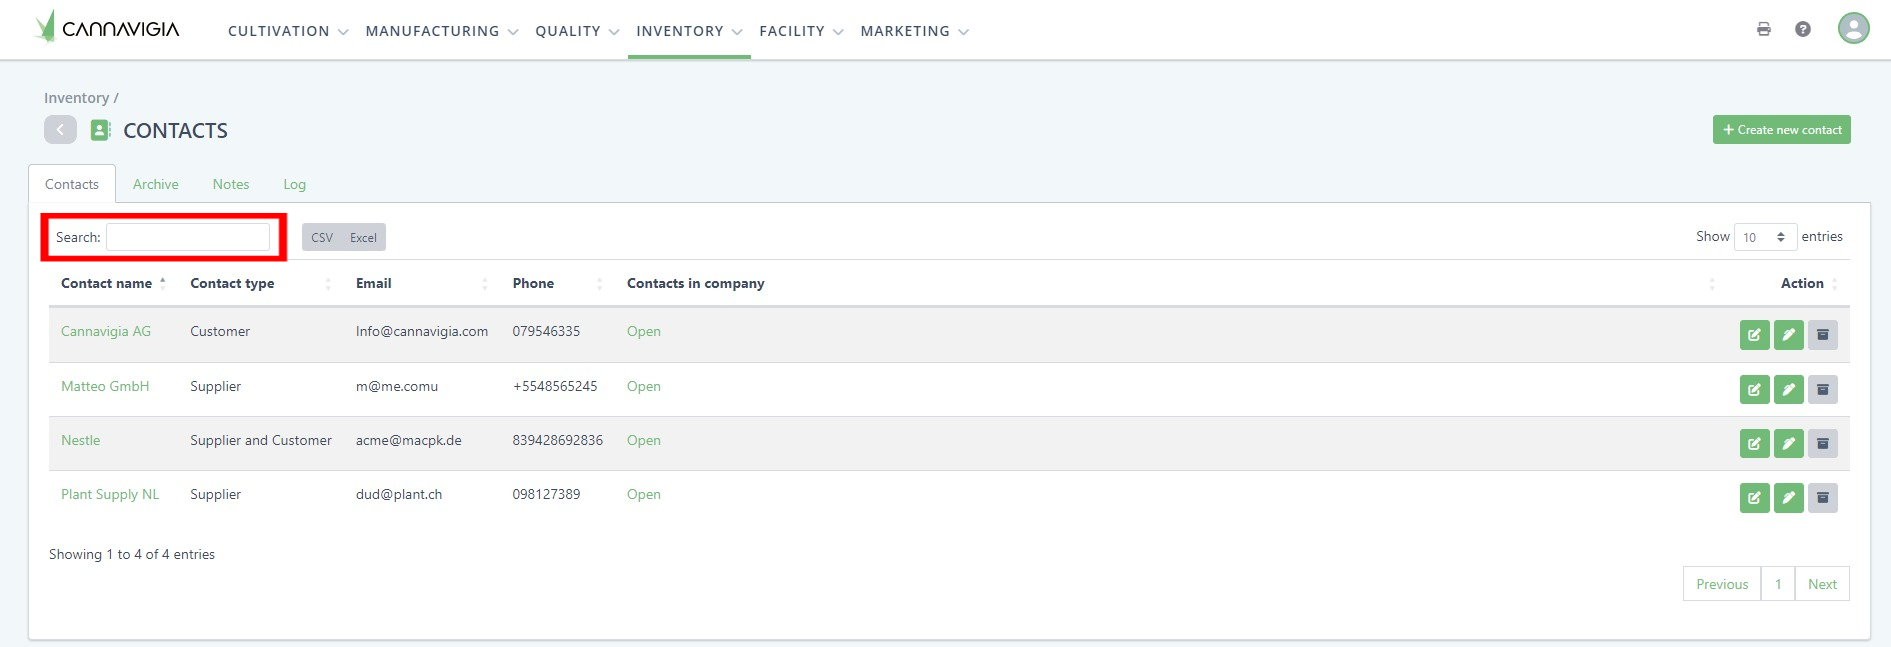
Finding contacts
To find contacts faster, you can use the Search function at the top left of the Contacts page (Inventory > Contacts). As soon as you start typing, the search automatically displays all the hits in the list.
In addition, you can sort contacts by the different table headings e.g. contact type. Click on the arrow icon to the right of the column heading to sort by the selected column. 
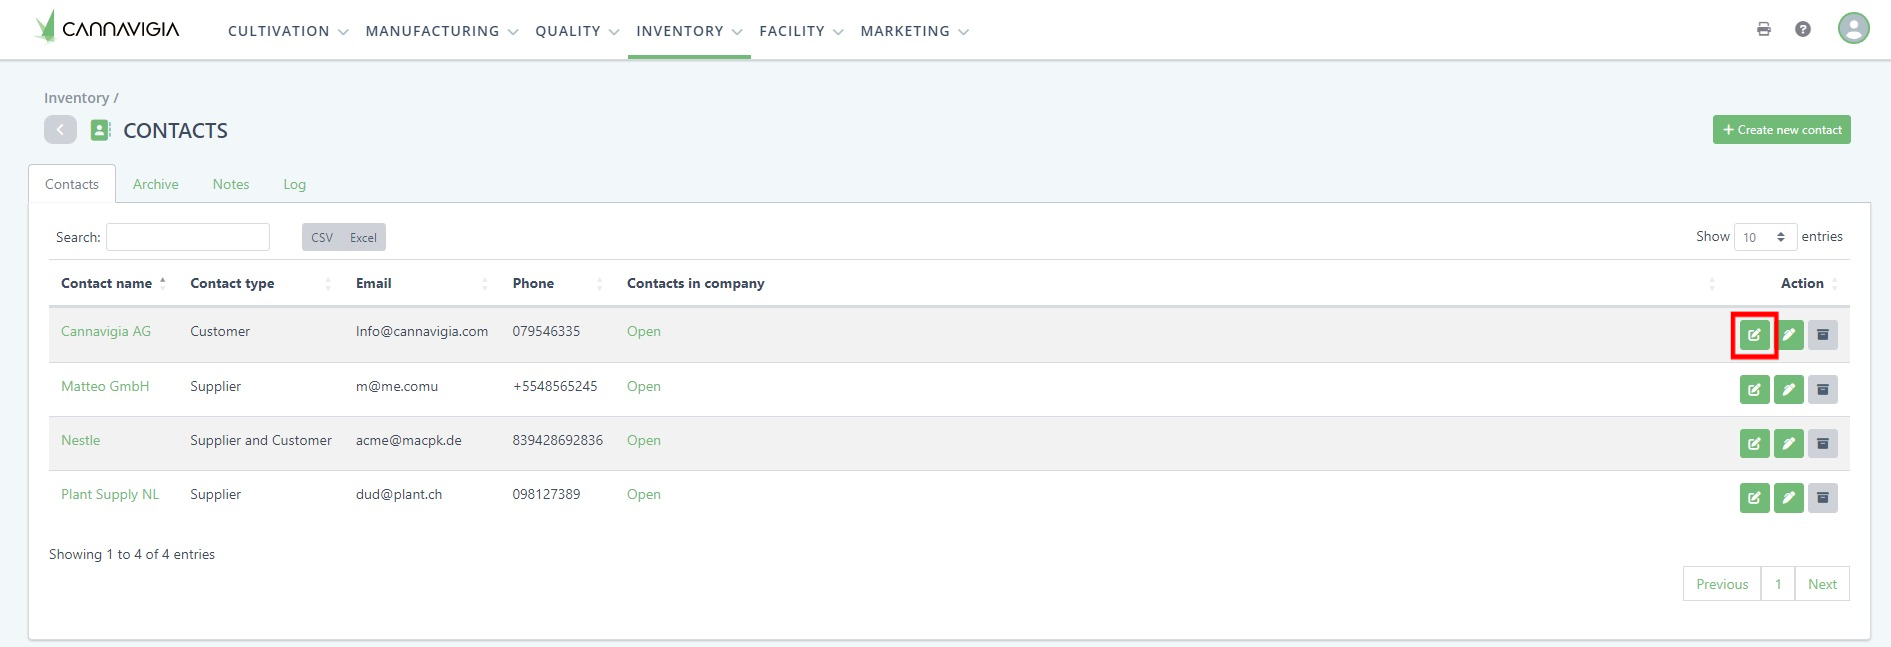
Editing contacts
You can edit your contacts at any time by following these steps:
To edit a contact, click on the green Edit button.
The Edit contact window will open with the same fields you entered when creating the contact.
Record the necessary changes or enter any additional information regarding that contact.
Note: You can also add a contact person at this step or at a later time.
Click on the Save button to record your changes and return to the Contacts page.
Adding a note to a contact
To add a note to a contact, click on the green Add note button.
Enter your note/comment about the contact.
Click Save to create the note and return to the Contacts page.
Archiving and restoring a contact
Click on the grey Archive button to archive the contact.
Confirm the archiving of the contact by clicking OK.
Note: Archived contactsare still visible in the Archive tab in the Contacts page and can be restored at any time.
To restore a contact, go to the Archive tab and click on the Restore button.